Here’s the thing… this was the best dish to EVER come out of
the Food Night kitchen.

It just so happened that said kitchen was not Food Night’s home kitchen, but rather the kitchen at Dr. Tom’s pad in Minneapolis. And it just so happened to be served the same night as …

It just so happened that said kitchen was not Food Night’s home kitchen, but rather the kitchen at Dr. Tom’s pad in Minneapolis. And it just so happened to be served the same night as …
1). A bottle of 1993* Dom was consumed.
2). The neighbors came over to, um, comment that the volume
on the musical component of the evening may be a bit… excessive.
3). The cops were called (or so I was told, they never
showed up or anything), since said volume was never really, you know,
adjusted. Perhaps because…
4). Tom may or may not have been tasered and/or unconscious
shortly after setting the Food Night record for “Most wine glasses broken in
one evening” with 2.
*Yeah, that Dom.
Not. Shabby. Thanks Rich.
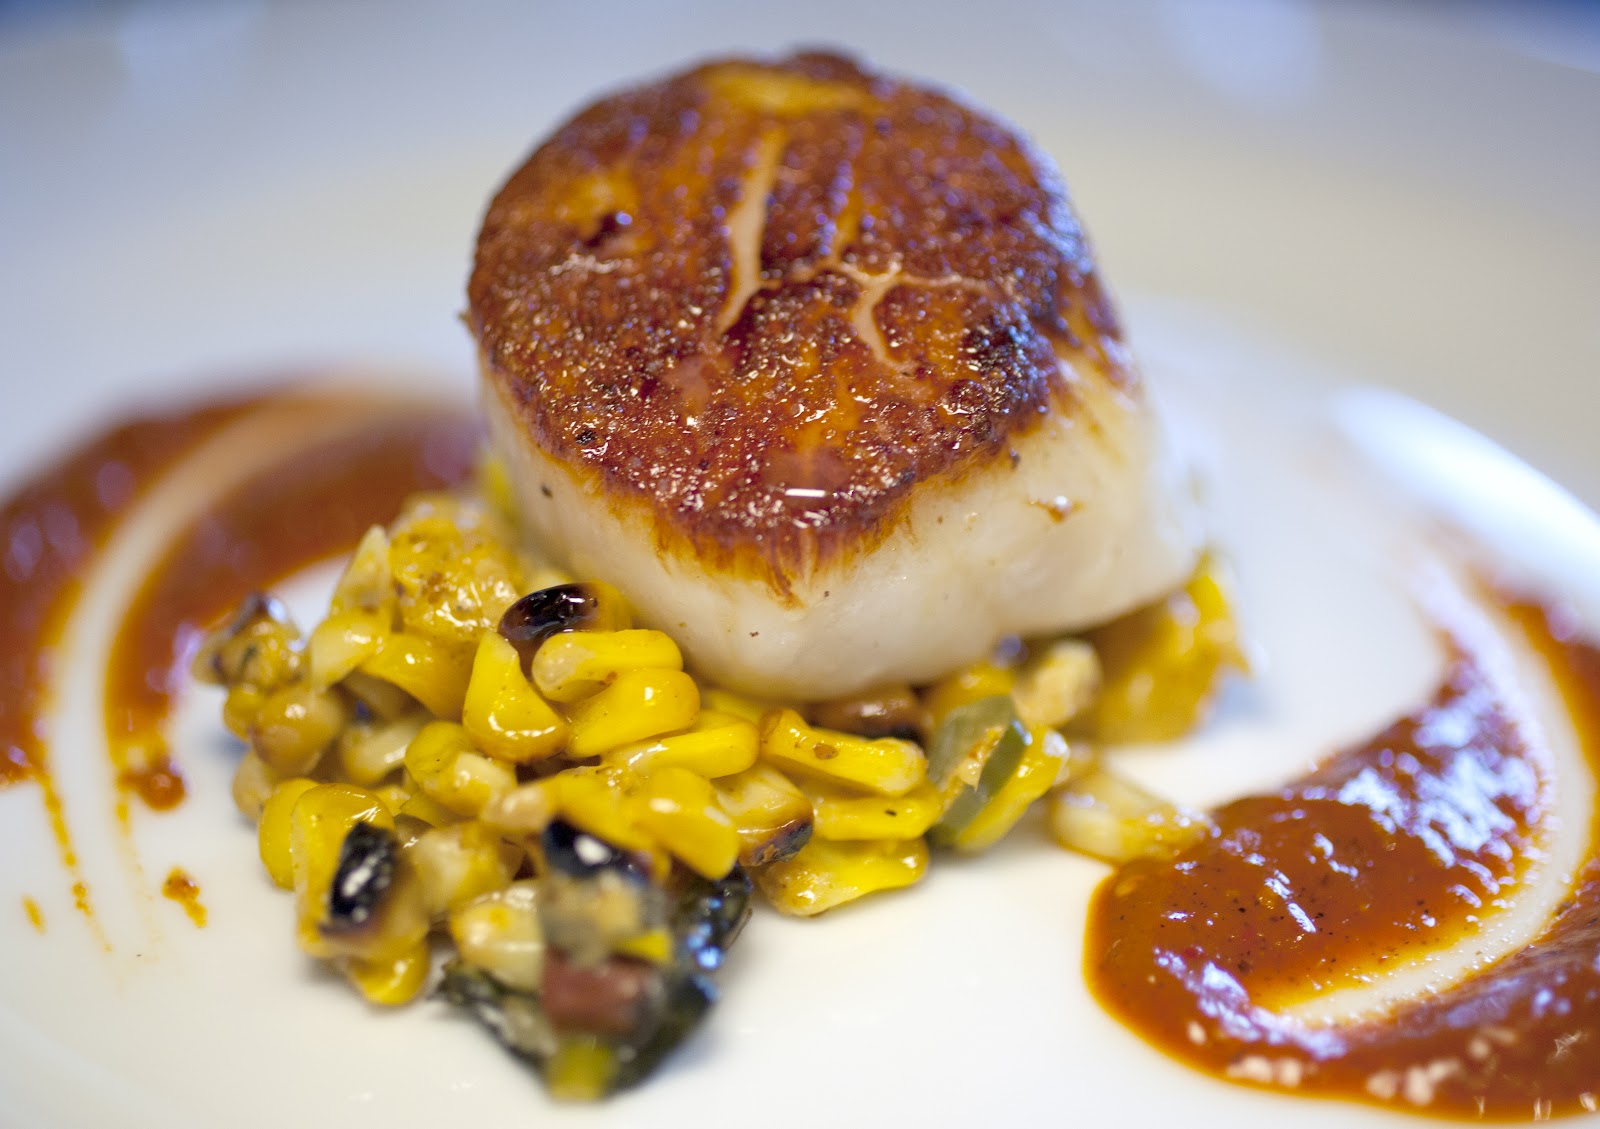
The evening was certainly a huge success (unless you were the neighbors apparently). I feel kinda bad not talking at all about the evening’s
scallop course…
… but discussing anything other than the pasta course here
would be akin to discussing how nice the (irrelevant thing) is at (your
favorite food establishment).*
*Mad Libs. You know you want to. Shout ‘em out in the Comments below.
Grilled Corn Agnolotti with Somerset Grapes, Almonds, Tarragon
Somerset grapes (Heartland)
Sliced almonds (toast them in a 350 oven until golden)
Parmigiano Reggiano
Fresh Tarragon
Maldon
Butter (plus, truffle butter if you can get your hands on
some)
One pasta dough recipe (duck eggs optional, use quality
chicken eggs if you like)
Corn Filling
Grill 3 ears of corn with the husks still on over a hot
grill, until husks are completely blackened. Some corn kernels should be splotchy black as well. Allow to cool, and cut the kernels off
the cobs (reserve the cobs for stock, below). Puree the roughly 2 cups of kernels
with approximately ½ cup greek yogurt (just barely enough to get the mixture to
puree), a teaspoon of horseradish, juice of half a lemon, salt and pepper. Strain, strain, strain the
mixture. Or, just puree the
dickens out of it in a VitaMix.
Chill thoroughly, and place in a gallon ziplock bag.
Corn Stock
Cut corn cobs in half and place them in a pot along with a
diced onion, diced carrot, bay leaves, pepper corns and fresh parsley. Cover with water, and bring to a very gentle
simmer for 60 to 90 minutes.
Strain through a fine mesh strainer and reserve.
Assembly
Make pasta dough.
Divide the dough into thirds.
Roll one third through a pasta machine down to the second thinnest
setting, keeping the other two thirds of the dough covered in plastic wrap while you work.
Lay the sheet of dough on a floured work surface. Snip off about a half inch corner of
the ziplock bag, and pipe a stream of filling onto the middle of the sheet of
pasta, taking note to leave an inch margin on the left and right sides of the
pasta.
Actually you know what…. Just watch this video beginning at the
1 minute mark. These pictures will
mean more than the 10,000 words I could/would write about agnolotti
construction.
Once assembled, use right away, or freeze agnolotti on
heavily floured plates or sheet pans, then store in a ziplock bag until ready to use. Agnolotti can go from freezer directly
into boiling water.
NOTE: The agnolotti can be made to this point and frozen up
to a week ahead of time. If you
don’t plan on freezing the agnolotti, make the filling and stock the day before
assembly to save yourself some time the day of service.
To finish
Melt several (4 to 6) tablespoons of butter in a
skillet. Put a large pot of
heavily salted water on to boil.
When water is boiling, turn it down (you don’t want it vigorously
boiling) and add the agnolotti.
They are ready when they float to the surface, approx 2 to 3
minutes. Do not over saturate the
pot with agnolotti.
While the agnolotti is in the water, add ¼ cup of corn stock
to the melted butter, swirl to combine and increase heat to create a saucy
consistency.
Add the agnolotti and grapes to the pan, and gently simmer
for a minute to let the sauce and the pasta get to know each other. Toss in a knob of truffle butter at
this point if you have it, and more corn stock if the sauce gets too dry.
Plate, topping with Parmigiano, almonds, tarragon and Maldon. Should look something like this...


